Shopify Integration Guide
Welcome to the official integration guide for connecting the GlamAR Virtual Try-On SDK with your Shopify store. This documentation will walk you through the step-by-step process of installing the GlamAR app, generating API credentials, syncing products, and customizing your theme to enable a seamless VTO experience.
Prerequisites
- A Shopify Partner or Merchant account
- Access to console.pixelbin.io
- Valid GlamAR API Token and Access Key
Installation
Install the GlamAR App

- Visit the Shopify App Store
- Search for
GlamAR Virtual Try-On. - Click on the app and click Install App to add it to your Shopify store.
- After installing the application, the Shopify asset store will redirect you to your Shopify account. Log in to your store with GlamAR as a downloaded application.
Generate API Key & Token
- Visit console.pixelbin.io and log in.
- If you're a first-time user:
- Create your organization.
- Otherwise, select your existing organization.
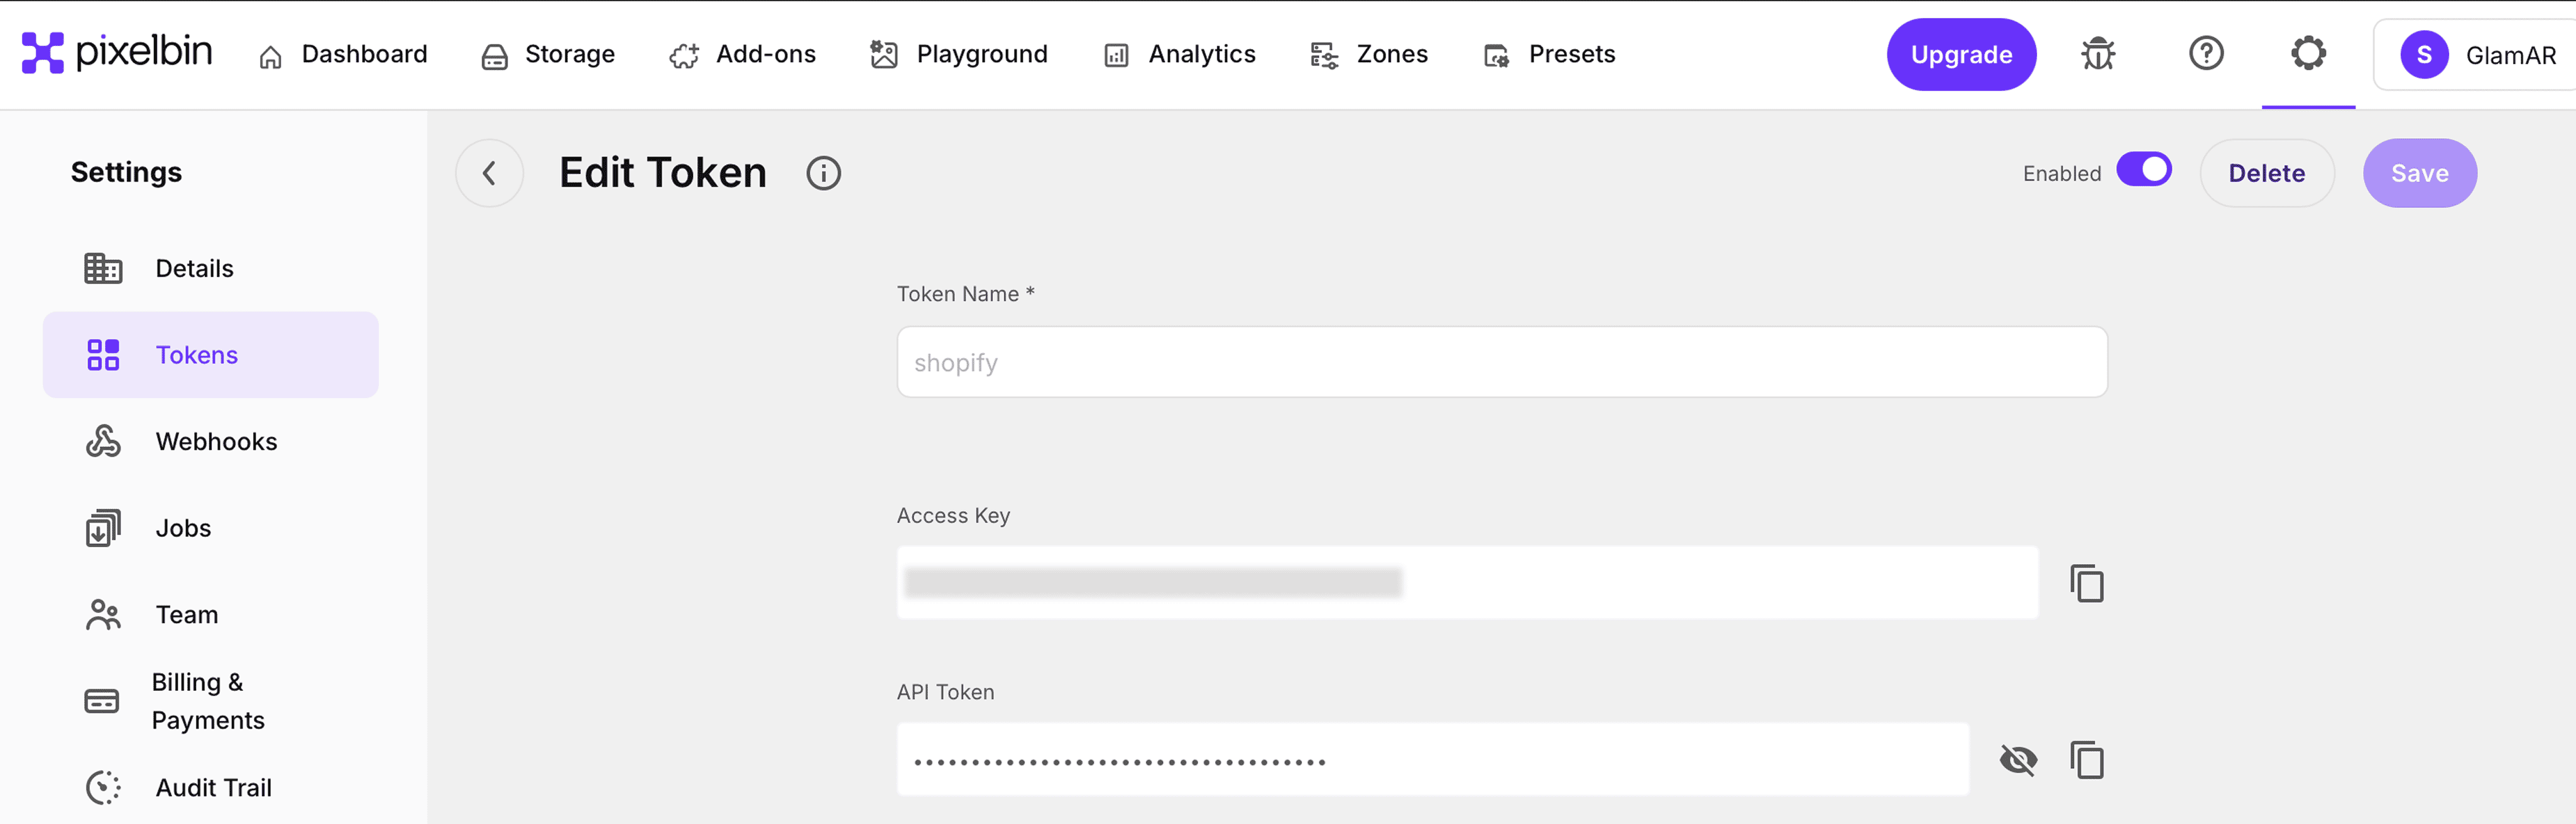
- Navigate to Settings > API Keys.
- Click Create Token.
- If a token already exists, you can Edit or Copy it.
- Note down your Access Key and API Token.
These credentials are required to connect your Shopify store with GlamAR services.
Configure GlamAR App in Shopify
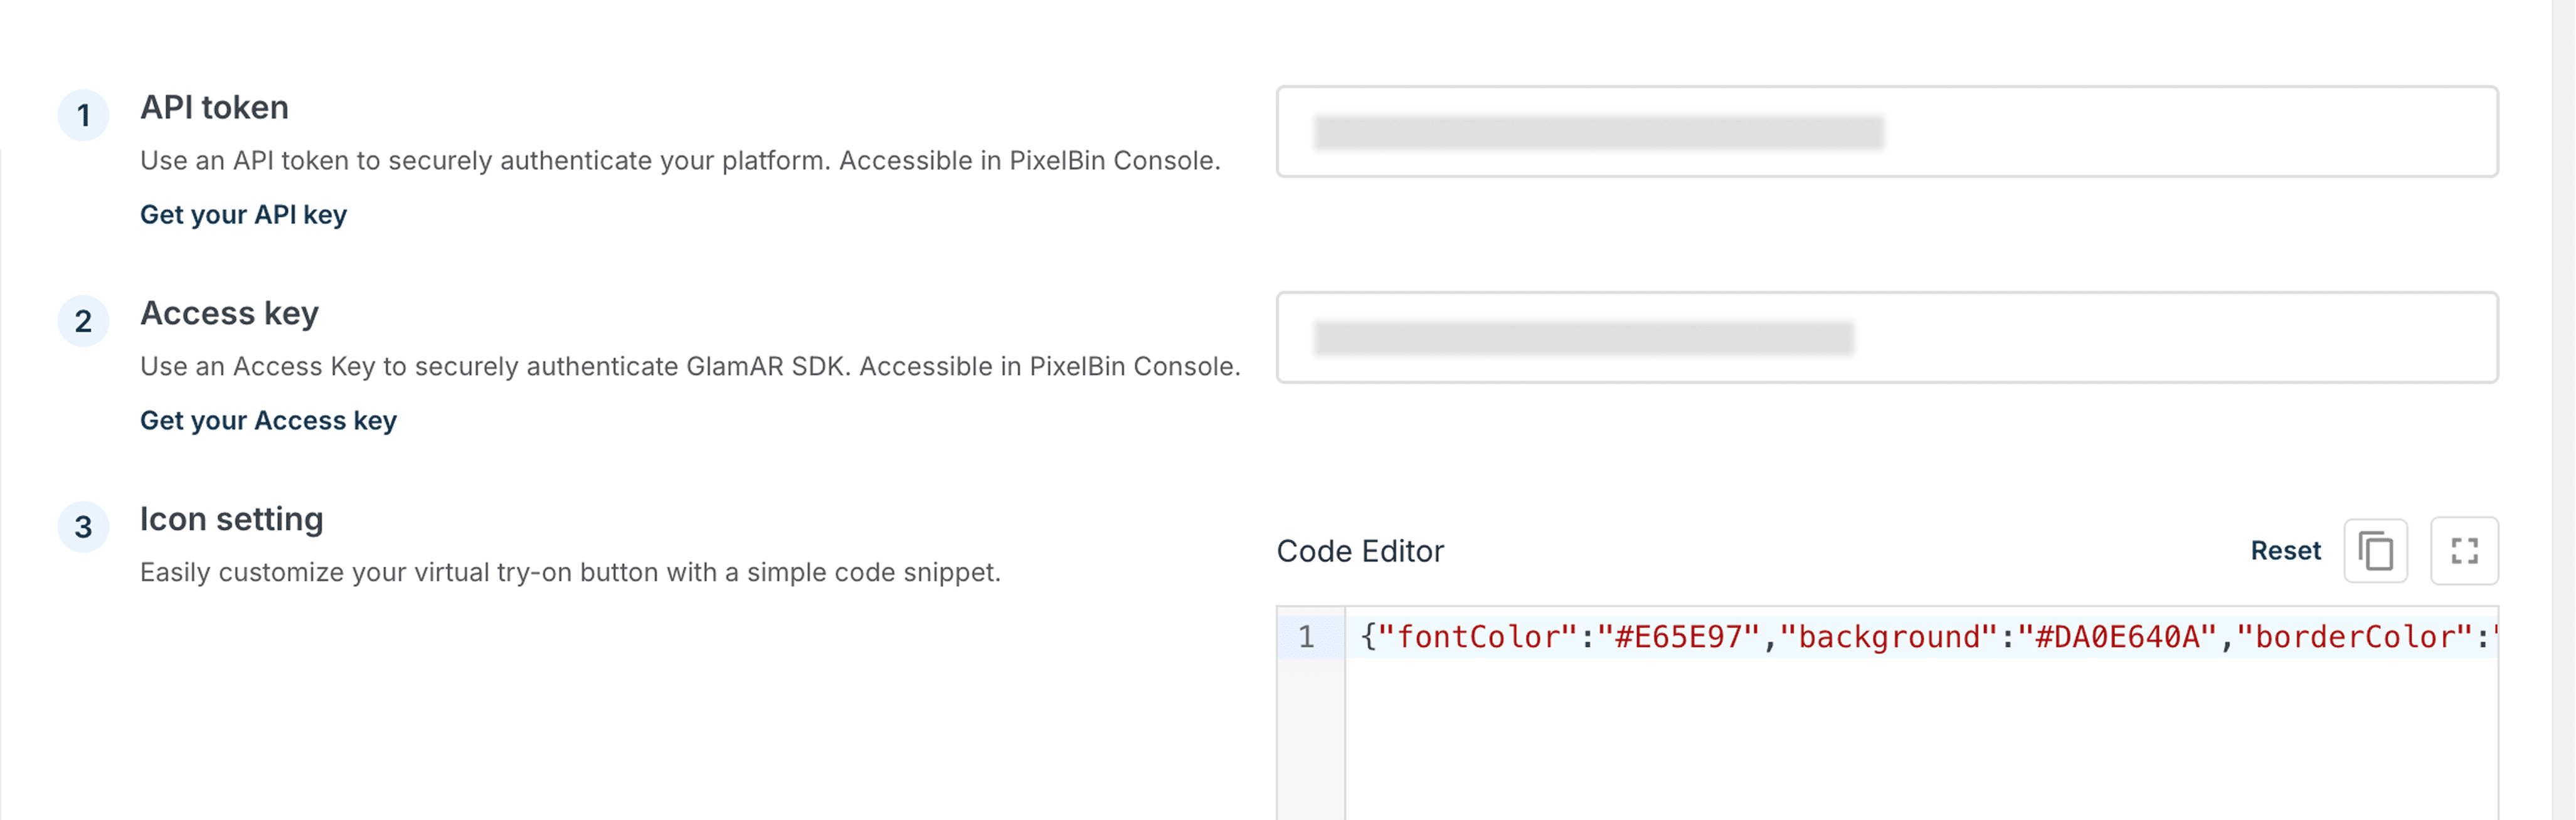
- Go to your Shopify Admin and open the GlamAR app.
- Under Settings, paste your Access Key and API Token.
- Click Save.
- Optional: Open Shopify Code Editor to tweak the GlamAR SDK styling (CSS updates).
Add & Configure Products
For accurate virtual try-on experience:
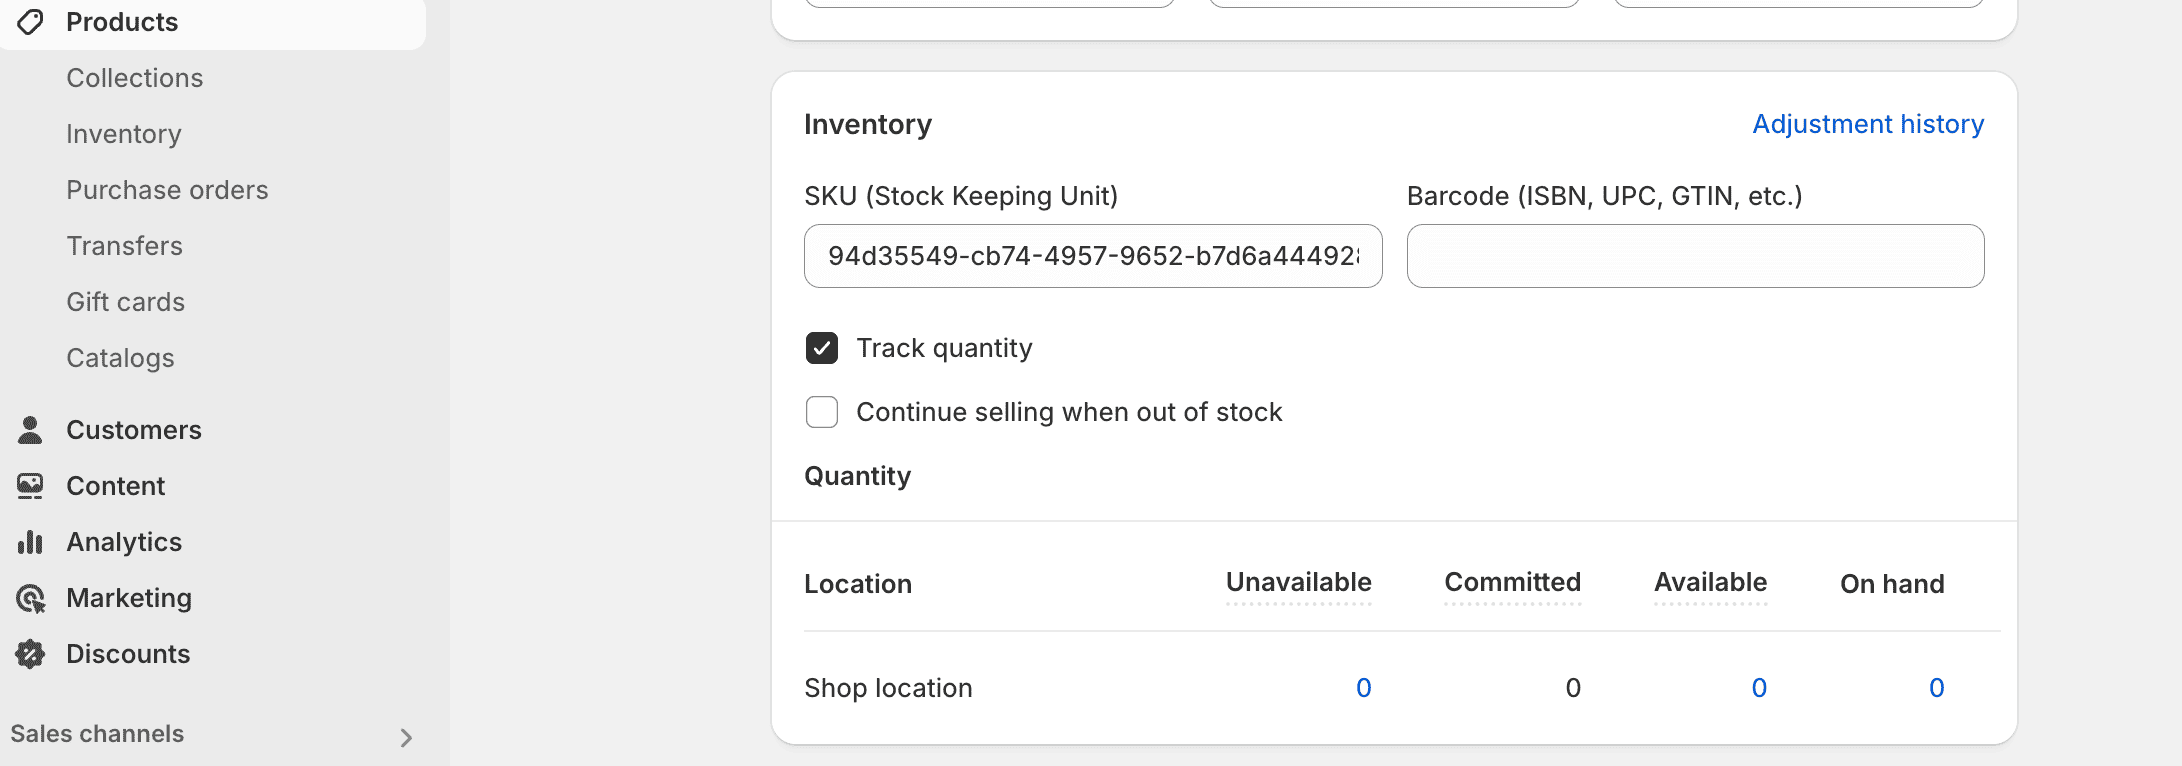
- Navigate to Products > Add Product or select an existing product.
- Fill in all required details.
- Under product information, enter the SKU ID to be used by GlamAR.
- Click Save.
Link SKU with Shopify Products
In GlamAR Console:
- Return to console.pixelbin.io.
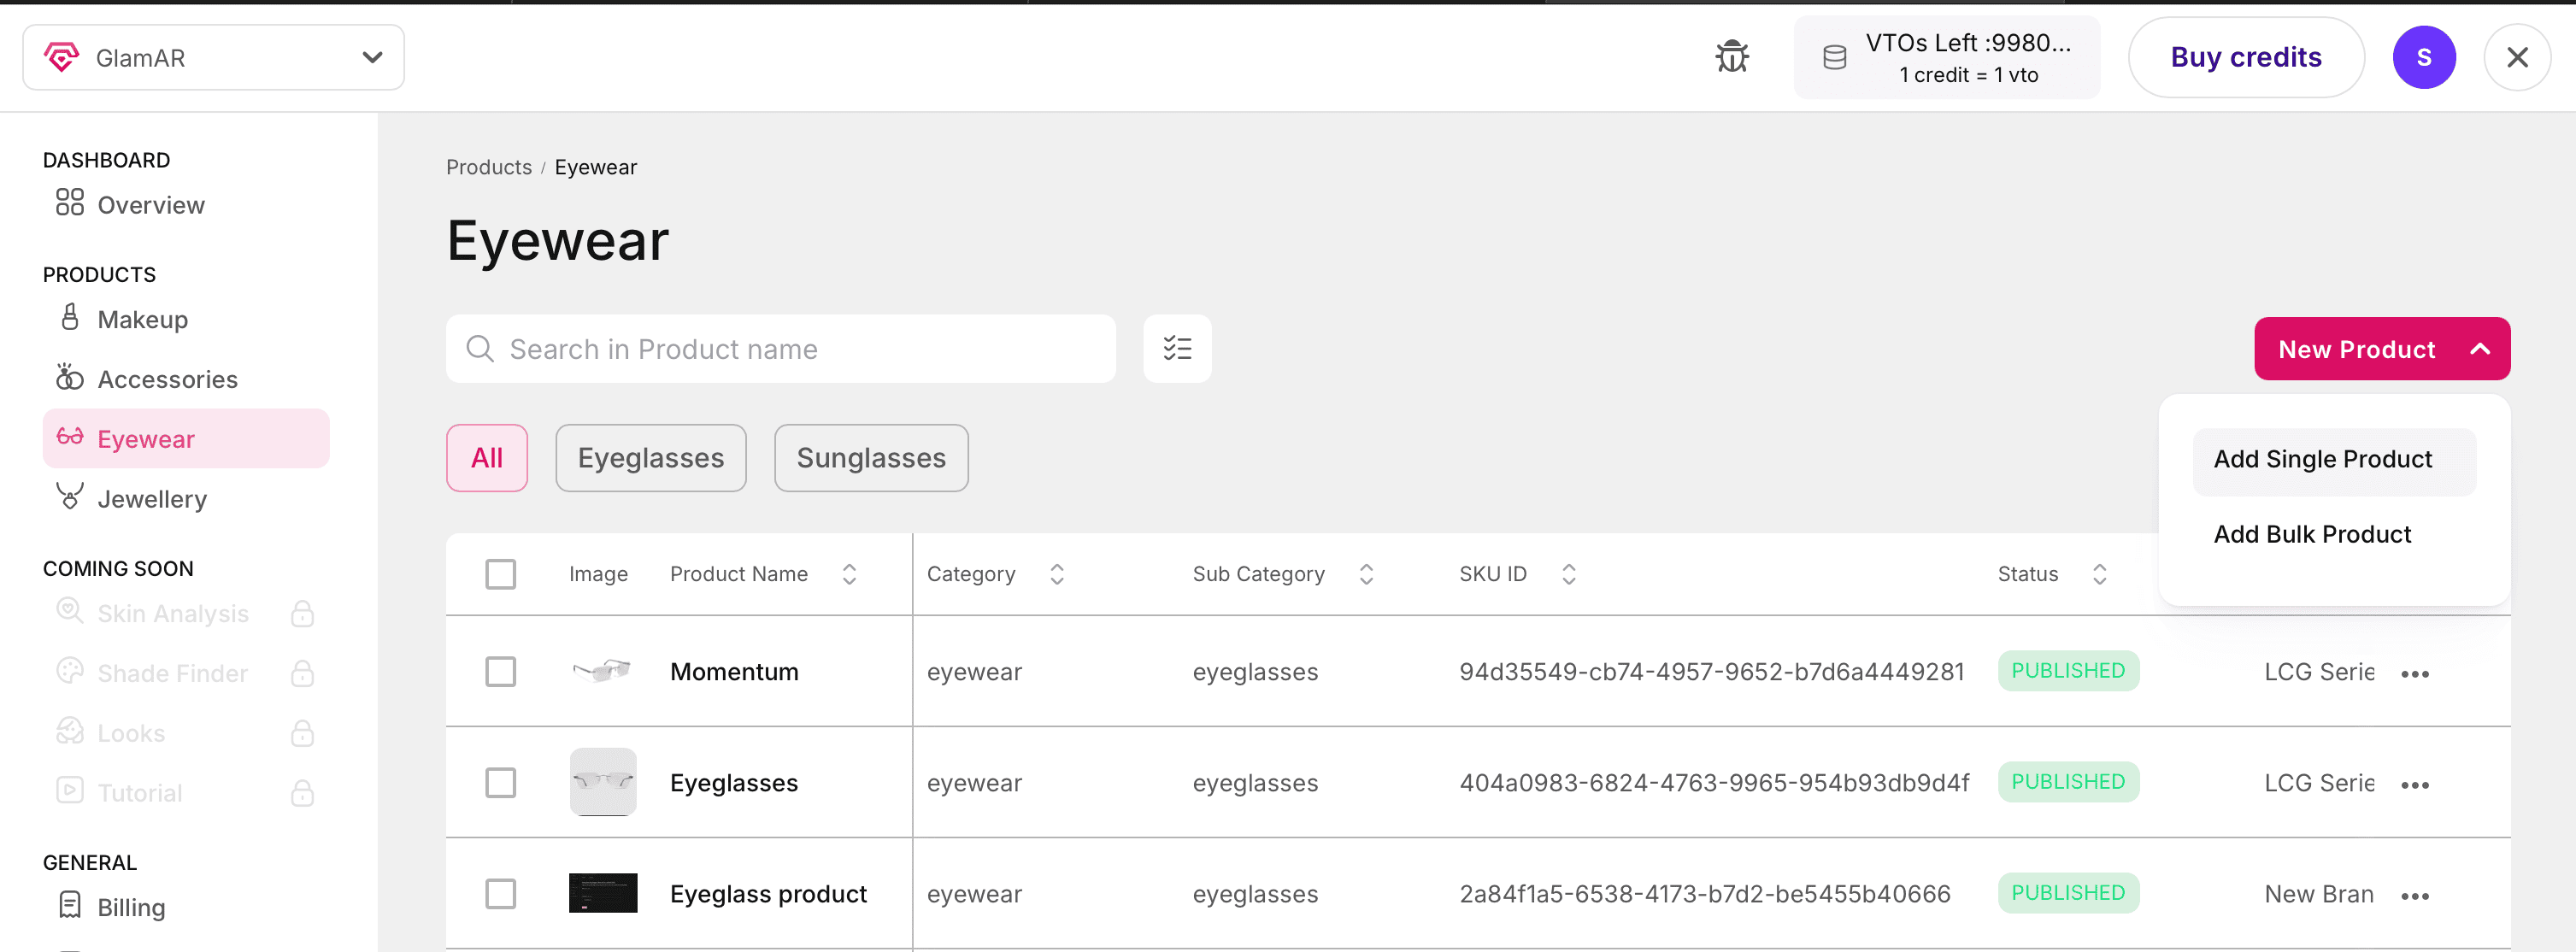
- Select your org and open the GlamAR module.
- Click Add Product or Select Existing Product.
- Fill/update required product metadata.
- Click Publish.
- Make sure the SKU ID matches with Shopify’s SKU.
Sync Products
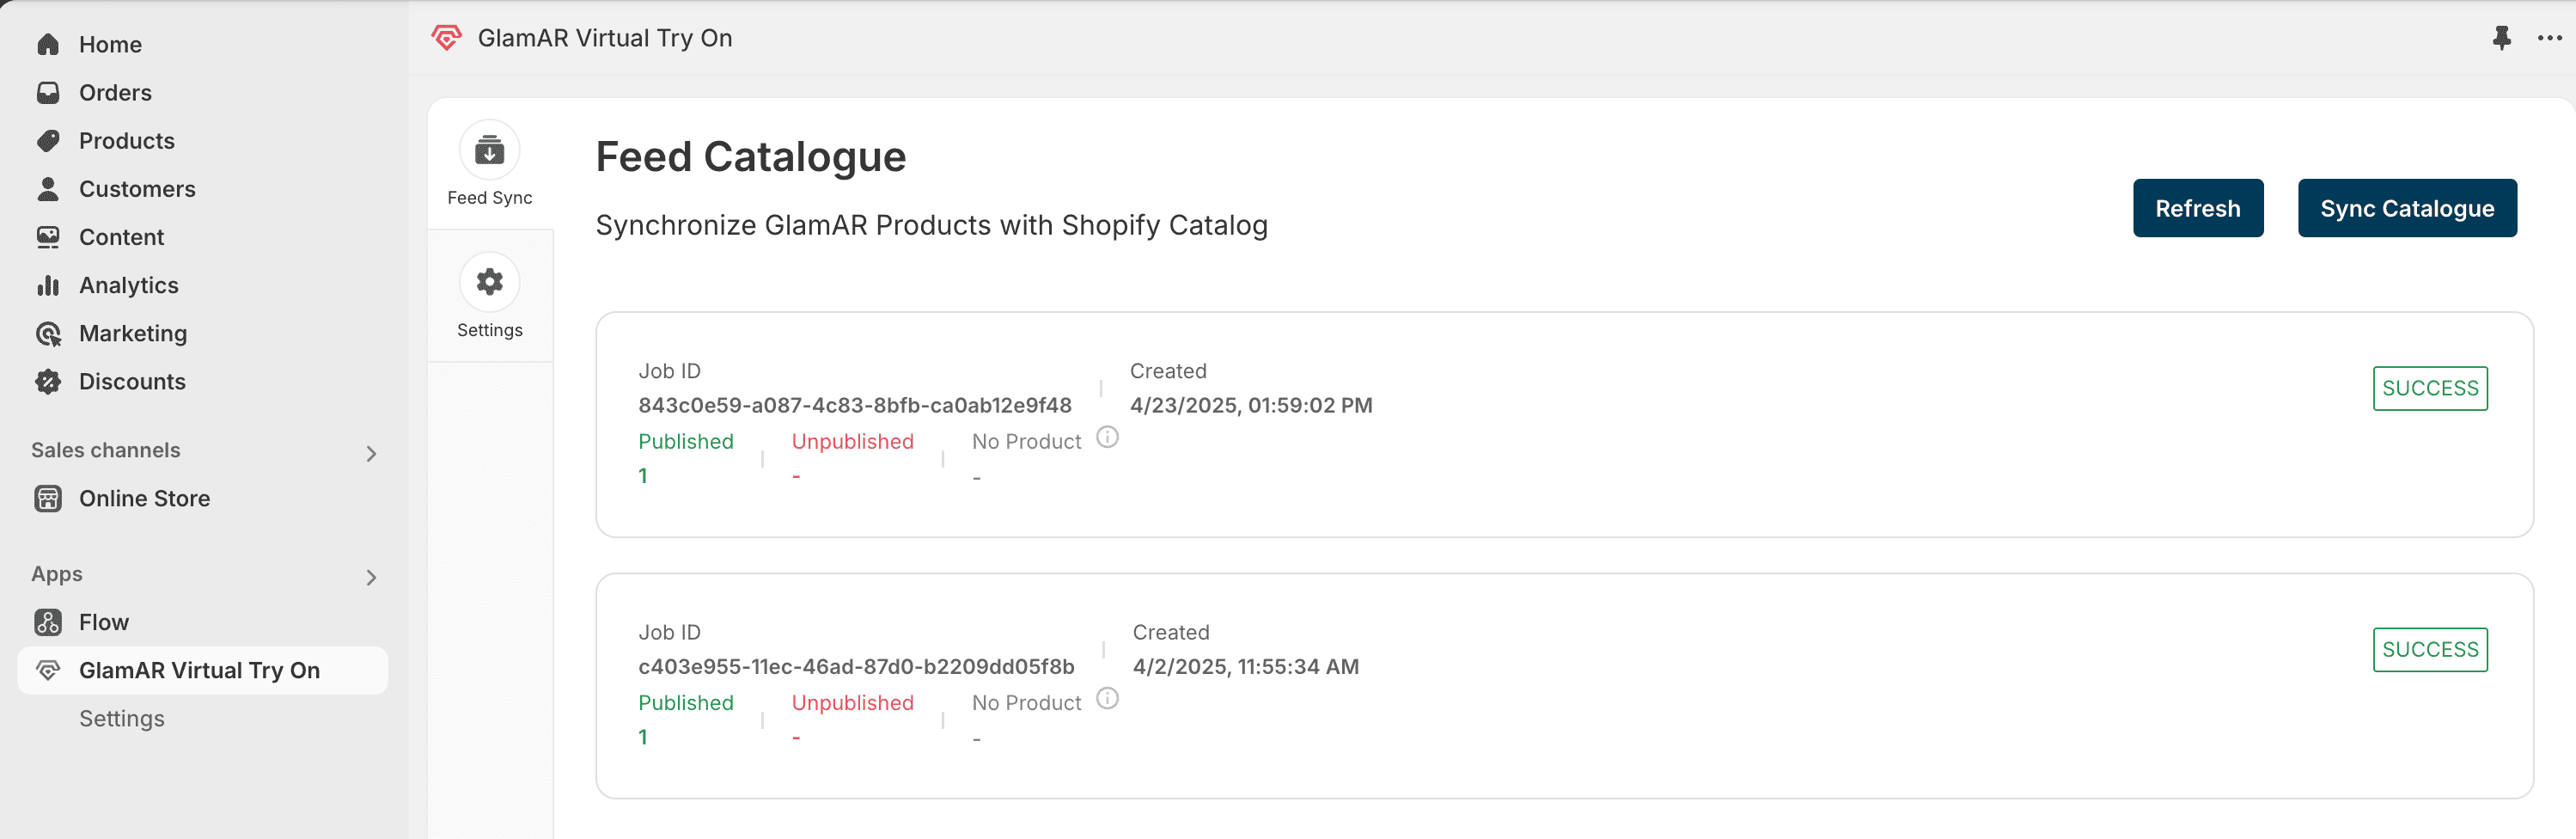
To ensure Shopify products are reflected inside GlamAR:
- Open the GlamAR app in Shopify.
- Click on Feed Sync.
- This will sync all your product details from Shopify into GlamAR.
Domain Configuration

To activate GlamAR SDK on your storefront:
- In the GlamAR Console, go to Model Config > Domain Config.
- Add your Shopify store domain. Example:
https://yourstore.myshopify.com - Save the configuration.
This enables secure SDK rendering on your public site.
Customize Your Theme

To display the GlamAR VTO experience on product pages:
- Go to Online Store > Themes > Customize.
- Select the product page template.
- Add the GlamAR VTO block in the desired location (e.g., below Buy Button).
- Save the changes.

Your Shopify store is now equipped with GlamAR's Virtual Try-On. Customers can interactively try on products like eyewear, makeup, or accessories directly from your product pages.