Adding Products to GlamAR VTO
Once your GlamAR Eyewear Virtual Try-On app is configured and activated, the next step is to connect your product catalog. This allows GlamAR to recognize which products should support virtual try-on functionality.
Accessing the Product Catalog
To begin adding or managing products:
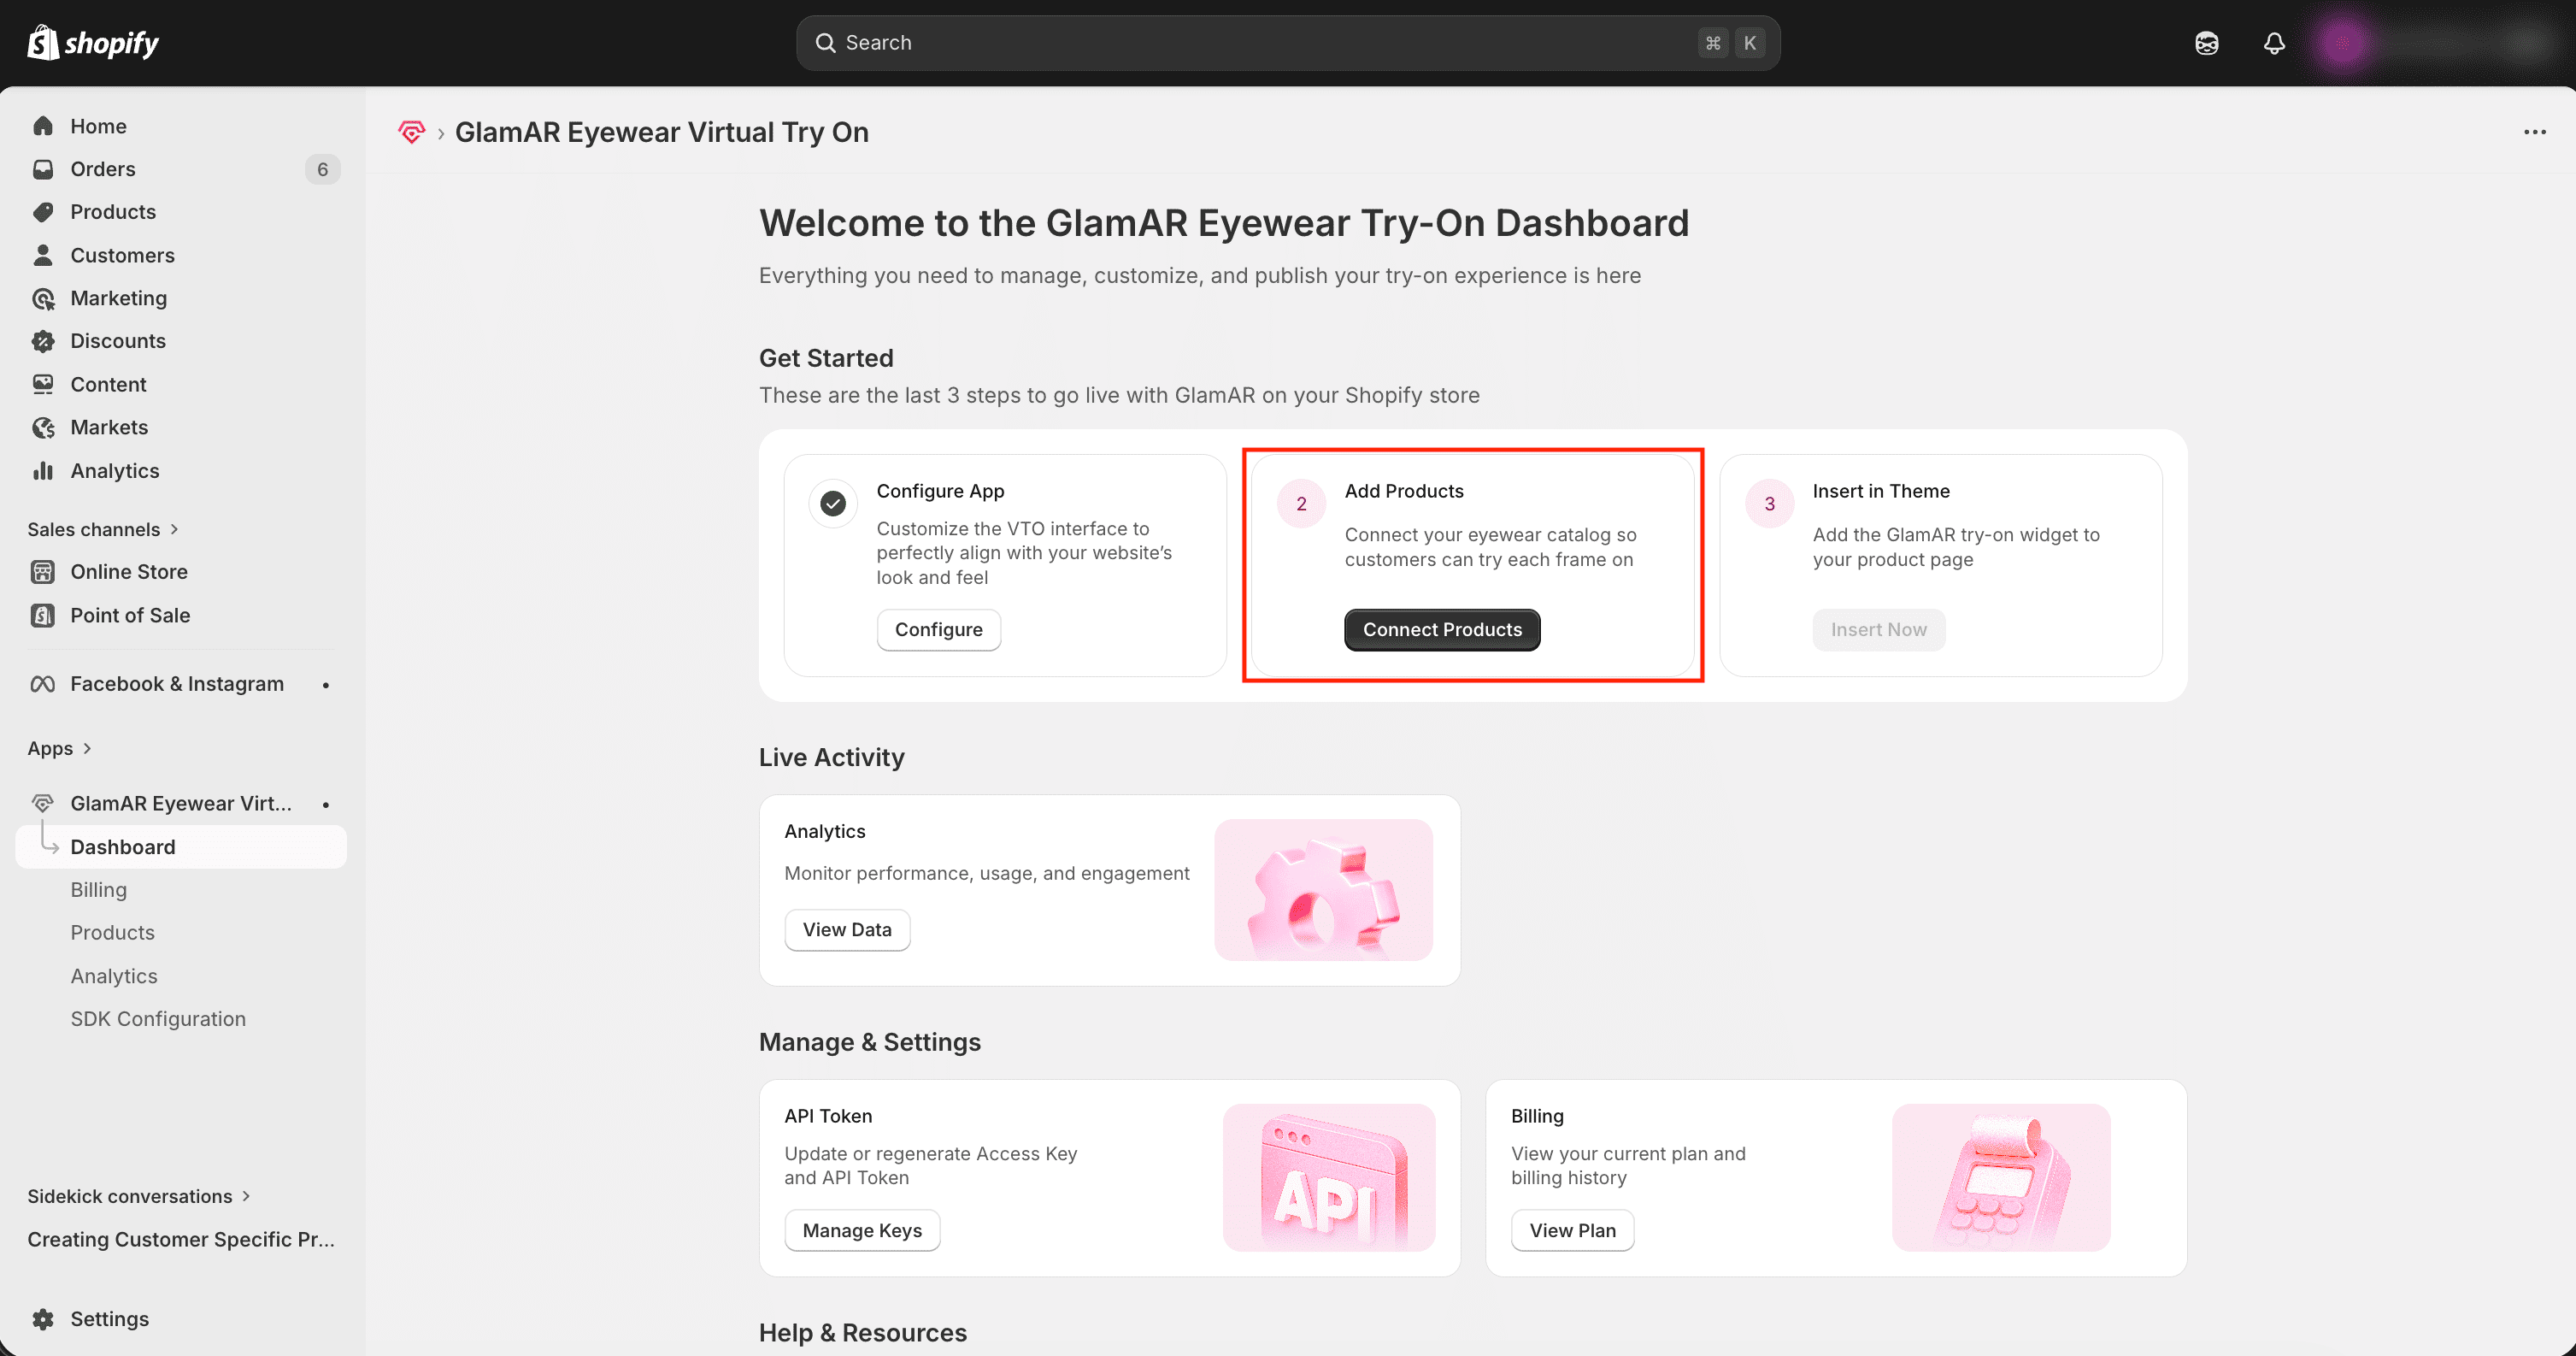
- From the left-side navigation pane inside the GlamAR app, click Dashboard.
- Under the Add Products section, click the Connect Products button.
This will open the Product Catalog interface.
Understanding the Product Catalog
The Product Catalog displays a synchronized list of products connected to GlamAR for virtual try-on. This catalog reflects products available for AR experiences in your Shopify store.
The product list is directly synced with GlamAR’s central Product Inventory.
- Any product added here is automatically reflected in GlamAR’s Product Inventory.
- Any product removed from this list will also be removed from GlamAR’s Product Inventory.
This ensures consistency between your Shopify storefront and the GlamAR backend system.
Adding a New Product
Once you are inside the Product Catalog, you can enable virtual try-on for additional products at any time. To begin, click the Add Product button.
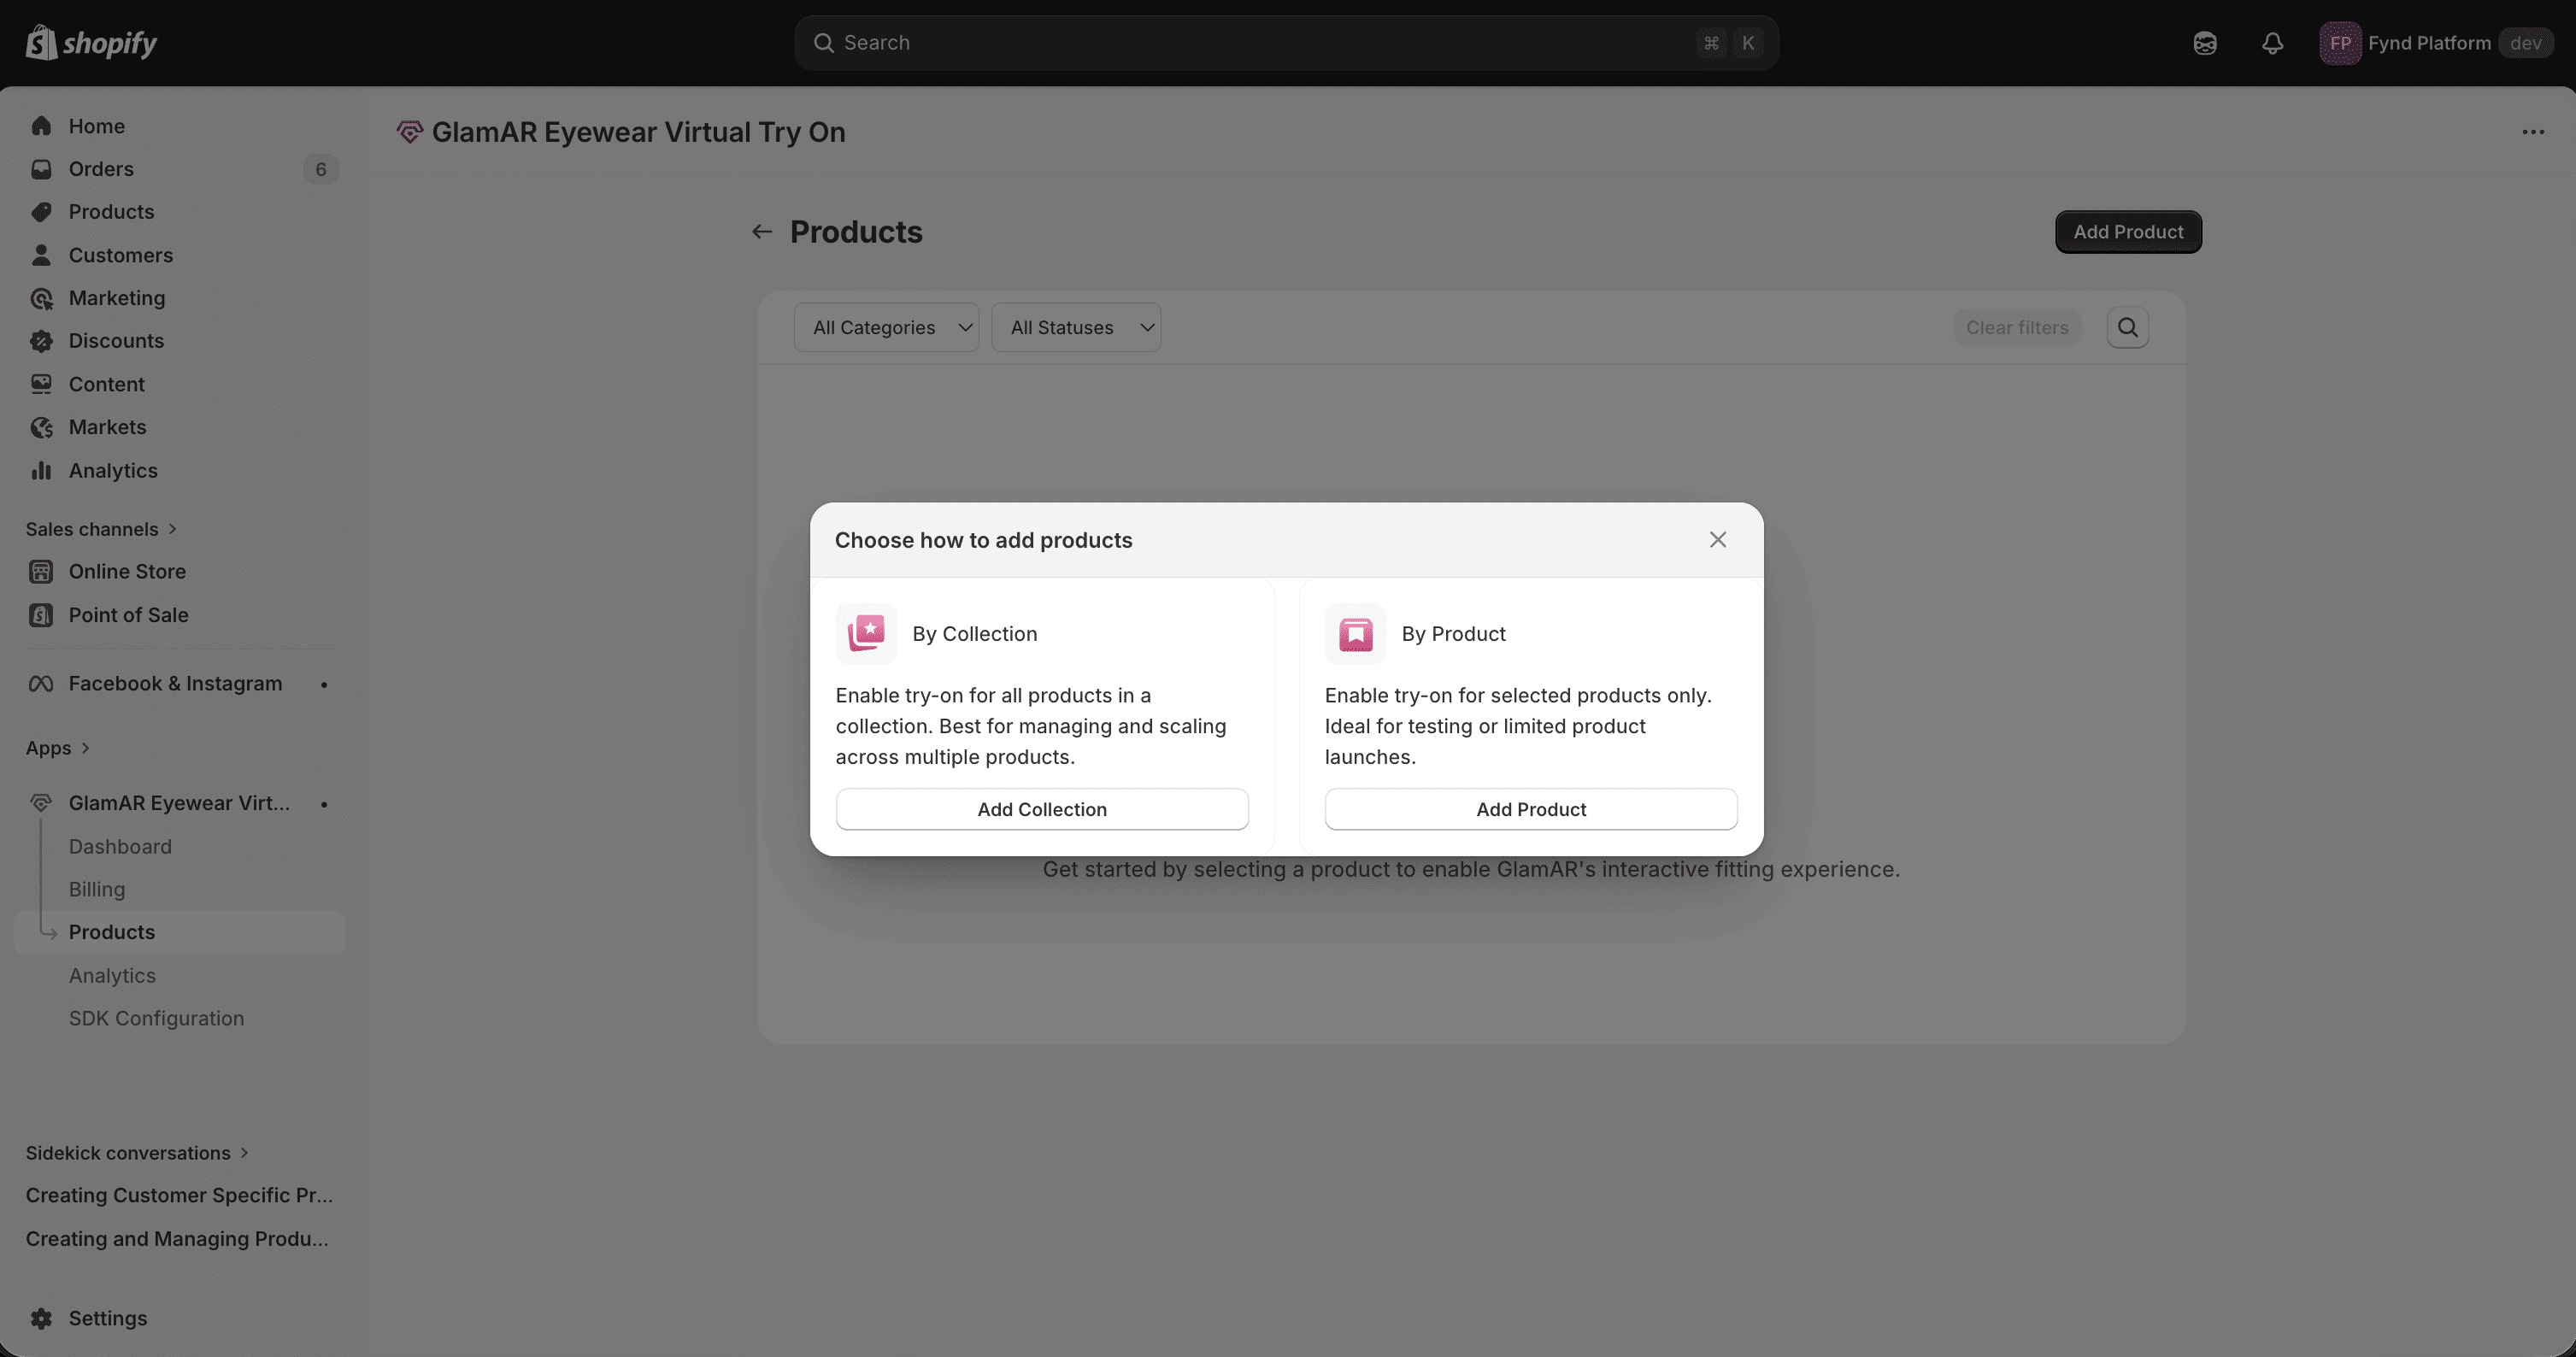
You will see two options for adding products:
- By Collection
- By Product
Each method serves a different purpose depending on how you want to manage your catalog.
Option 1: Add by Collection
The By Collection method allows you to activate virtual try-on for all products within a specific Shopify collection.
This is the fastest and most scalable way to manage AR when dealing with large product catalogs.
When to Use This Option
- Launching try-on for an entire eyewear line
- Seasonal collection rollouts
- Large-scale activation
- Bulk product updates
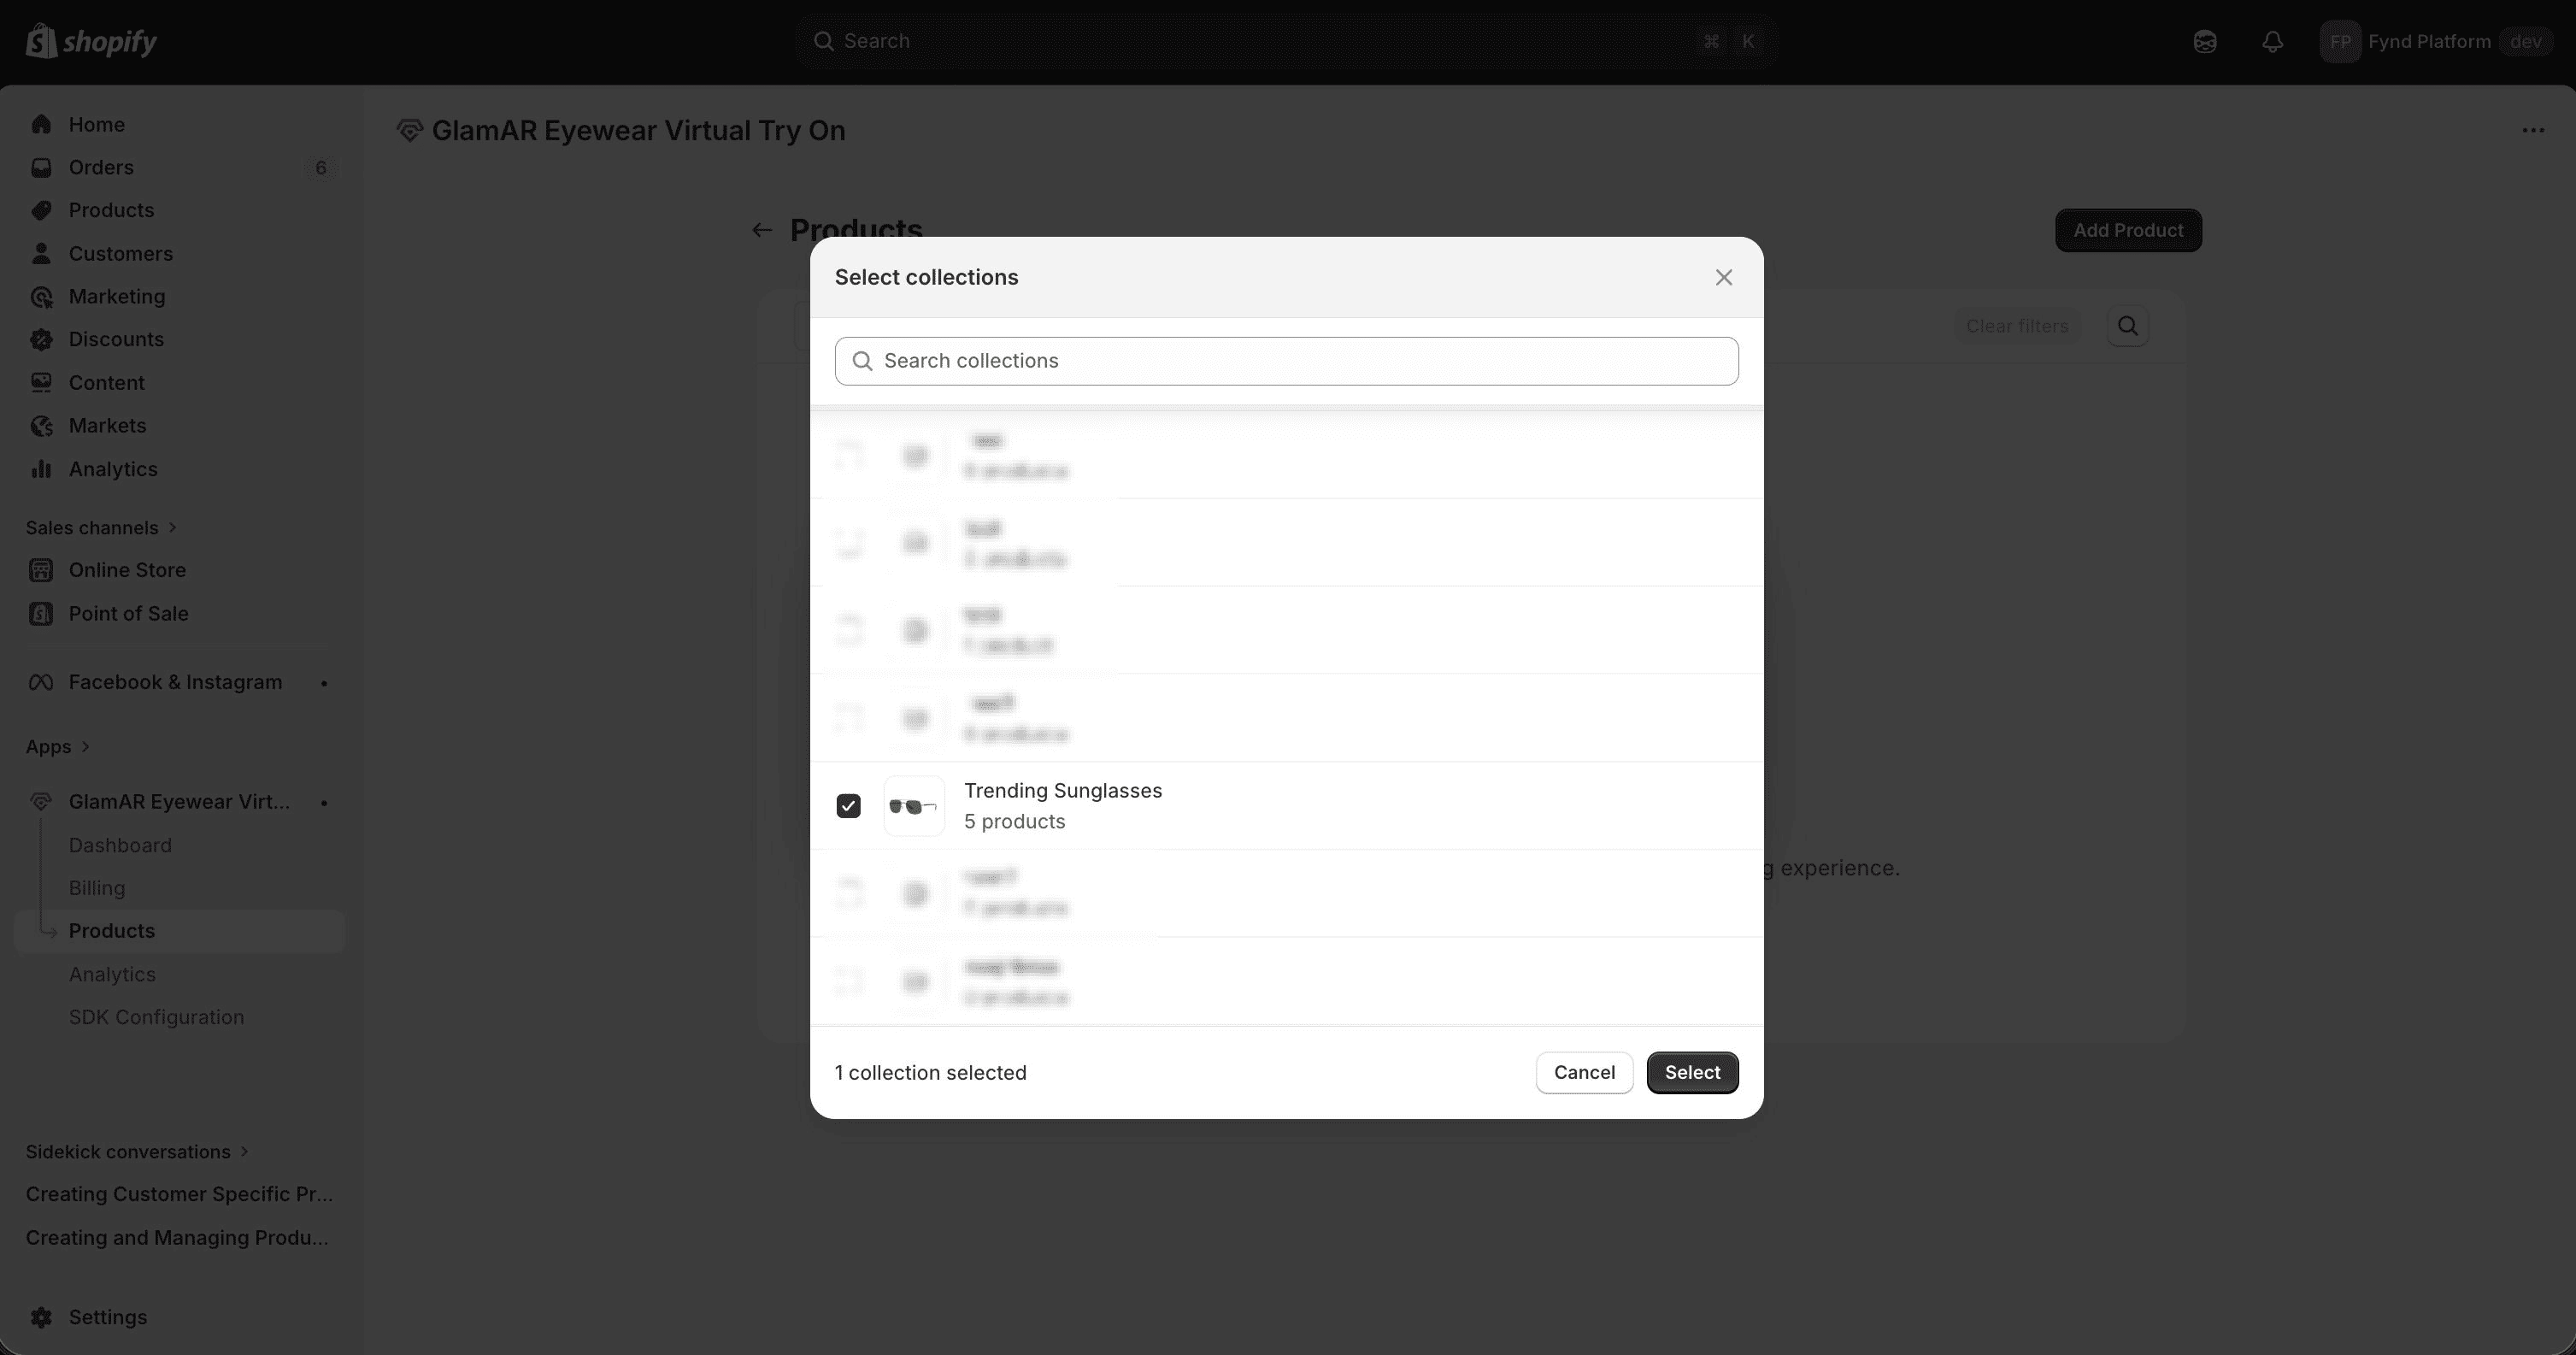
How to Add by Collection
- Click Add Collection.
- Select the desired Shopify collection.
- All eligible products within that collection will be listed.
- Choose a Category from the dropdown to assign the GlamAR product category.
- Confirm to complete the addition.
The Category selected here applies only to GlamAR. It does not modify or affect your Shopify internal product categorization.
The GlamAR category ensures:
- Proper AR model application
- Accurate product placement
- Correct tracking logic (e.g., sunglasses vs optical frames)
Option 2: Add by Product
The By Product option allows you to activate try-on for specific items one at a time. This method provides precise control and is ideal for:
- Testing new products
- Pilot launches
- Limited-edition releases
- Gradual AR rollout
- Troubleshooting individual SKUs
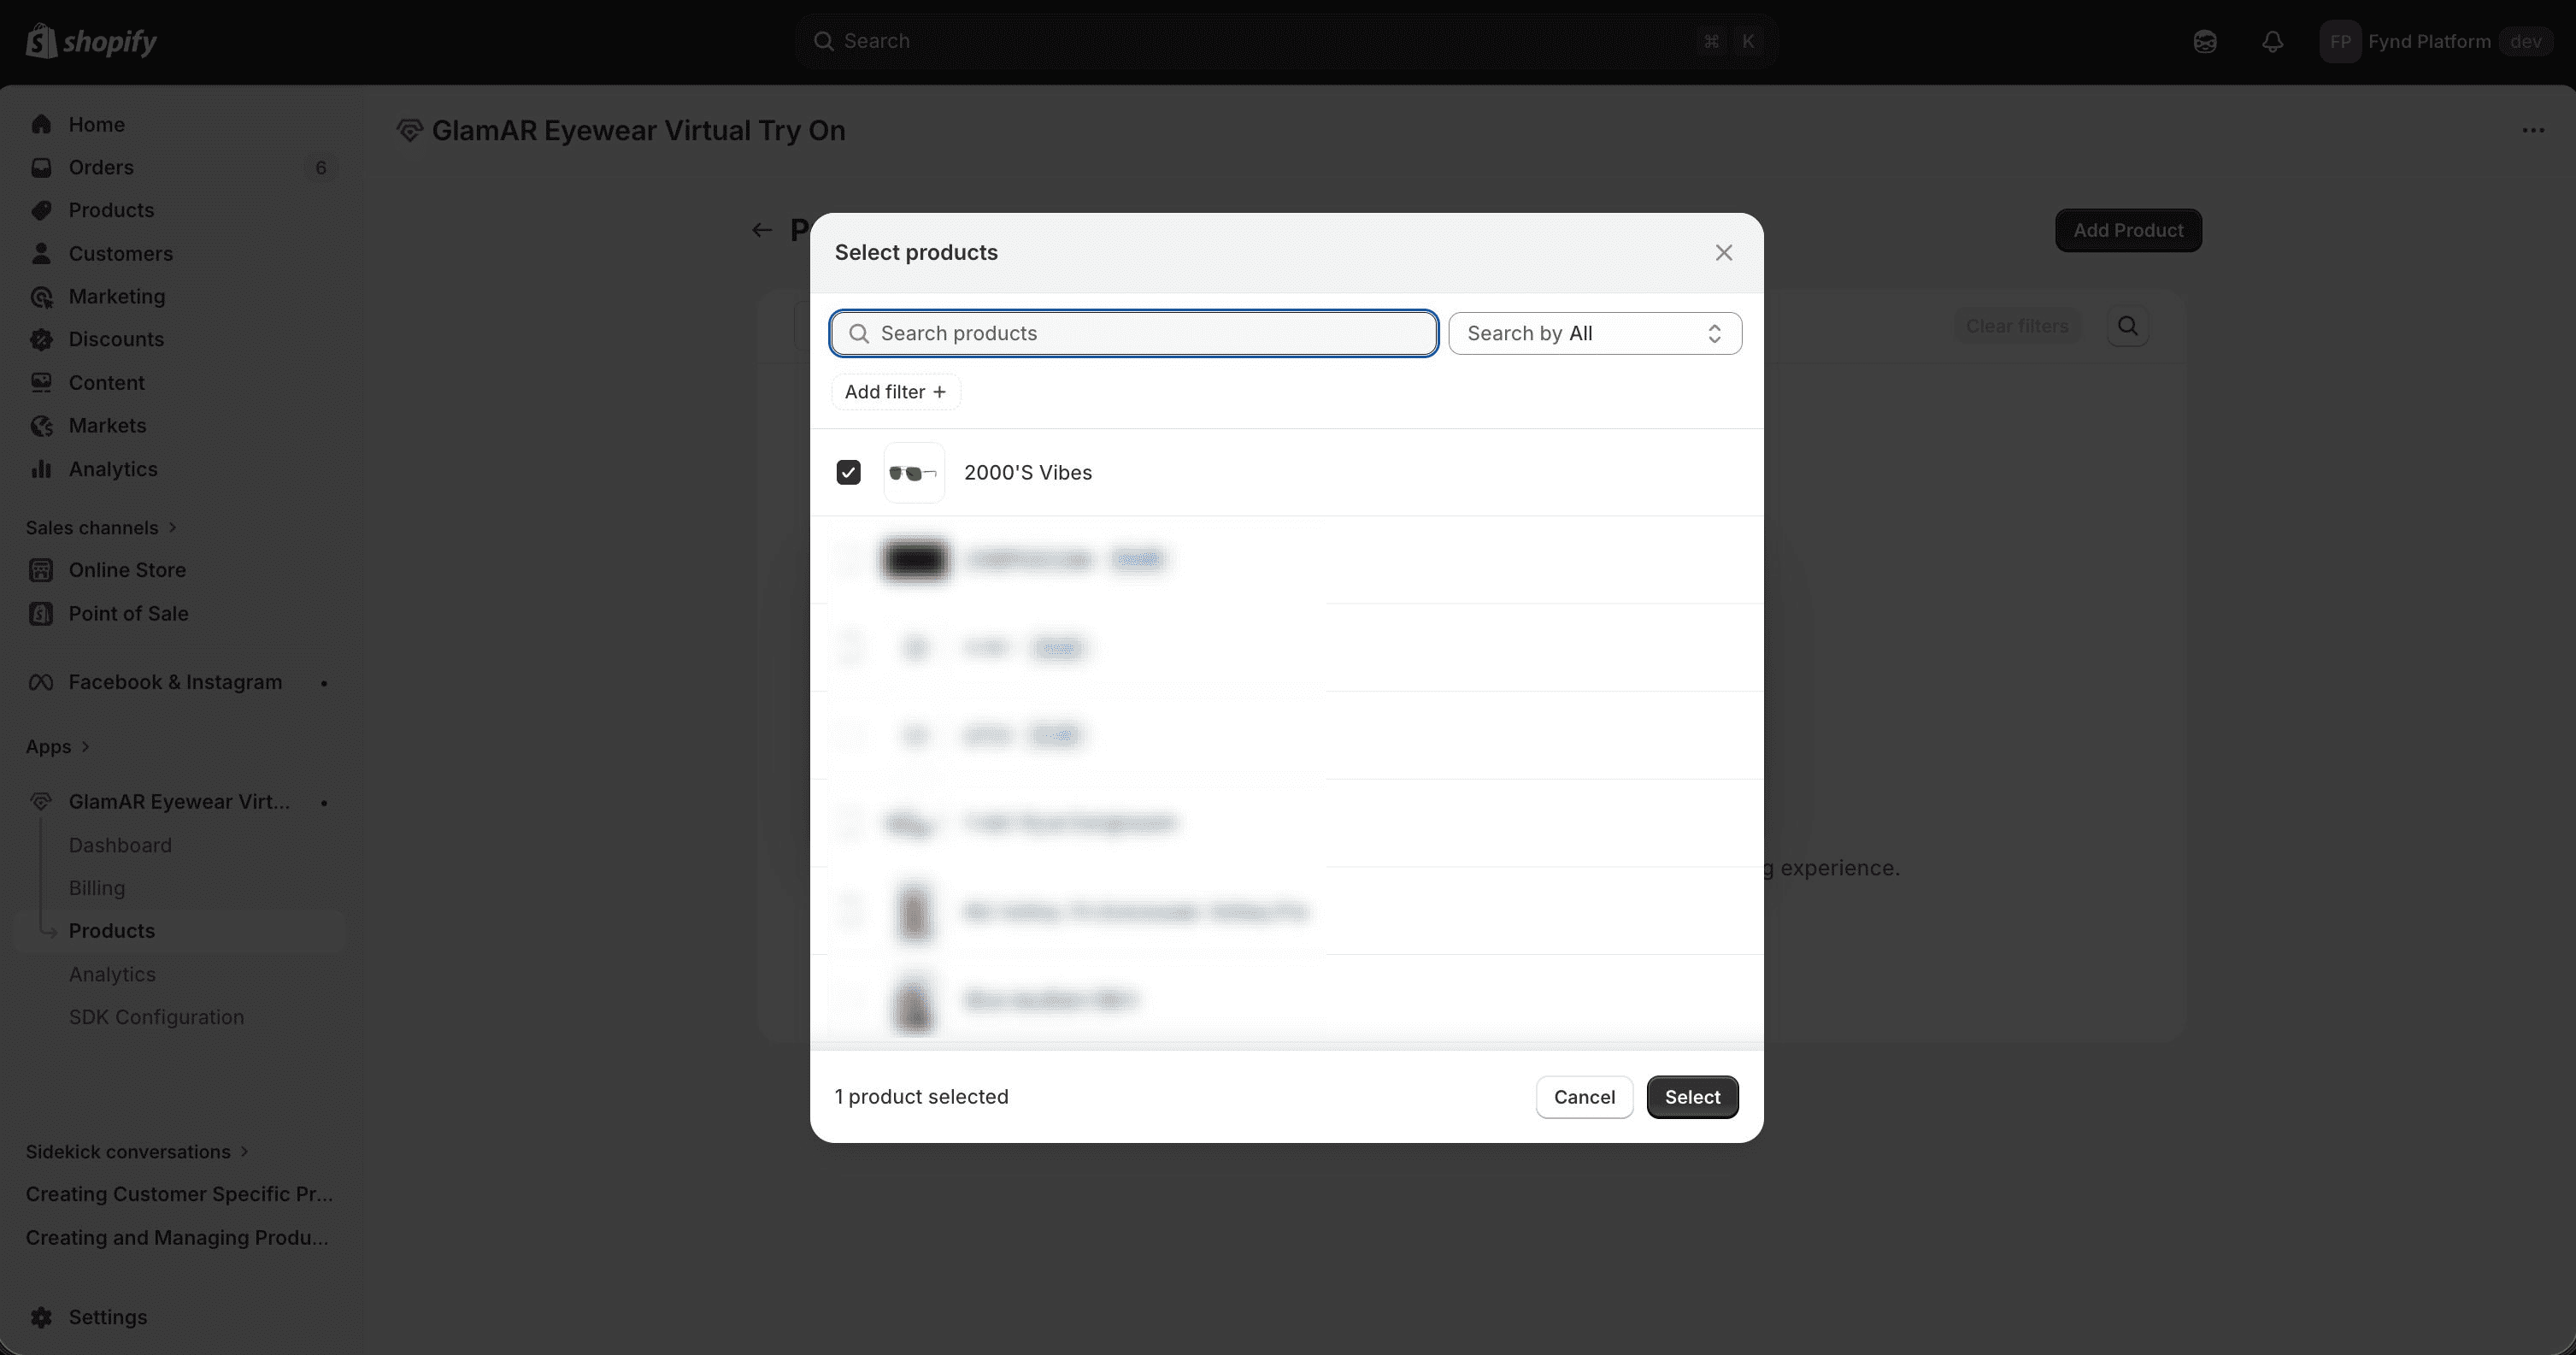
How to Add by Product
- Select By Product.
- Search or browse to select the desired product.
- Once selected, choose the appropriate GlamAR category.
- Confirm to add it to the product inventory.
Just like with collections, the selected category is used only by GlamAR and does not alter Shopify’s internal taxonomy.
Product Catalog Columns
The Product Catalog table includes the following columns:
Product Name
Displays the name of the product as listed in your Shopify store. This helps you quickly identify items eligible for virtual try-on.
SKU ID
The SKU ID column displays the Shopify Variant ID associated with the product. This Variant ID is internally mapped to the product’s SKU for synchronization purposes.
Ensure SKUs are correctly configured in Shopify before syncing. Incorrect or duplicate SKUs may prevent proper AR mapping.
3D
The 3D column in the Product Catalog allows you to upload, manage, and preview the 3D model associated with each product. A properly configured 3D model is essential for enabling accurate virtual try-on experiences.
When a product is added to the catalog, the 3D column displays an Upload button.
Steps to upload:
- Click Upload under the 3D column for the desired product.
- Select the corresponding 3D model file from your system.
- Upload the file in .glb format (only this format is supported).
- After uploading, click Sync to ensure the model is properly linked with the GlamAR Product Inventory.
Always click Sync after uploading or updating a 3D model. If the model does not appear in preview, syncing is usually required.
If You Don’t Have 3D Models
If you do not currently have 3D models available for your products, GlamAR can assist.
If you don’t have .glb models prepared, contact the GlamAR Sales Team at sales@glamar.io.
Our team can assist in creating and onboarding 3D assets tailored to your products to ensure a high-quality AR experience.
Category
Specifies the product category (e.g., Eyewear, Sunglasses). This helps GlamAR determine which AR model or tracking logic to apply.
Sync status
Displays the current synchronization state between Shopify and GlamAR. Possible states may include:
- Published
- Unpublished
- Draft
If a product shows an error, verify SKU and asset configuration.
Enable / Disable
Allows you to activate or deactivate virtual try-on functionality for specific products.
- Enabled: AR try-on is available on the product page.
- Disabled: AR try-on will not appear, even if the product is synced.
You can temporarily disable AR for out-of-stock or seasonal items without removing them entirely from the catalog.
Best Practices for Product Management:
- Ensure each product has a unique SKU before syncing.
- Verify that corresponding 3D assets are uploaded and correctly linked.
- Regularly review Sync status to catch configuration issues early.
- Use Enable/Disable to control AR visibility without affecting product availability in Shopify.
Managing Products in GlamAR VTO
After adding products to the GlamAR Product Catalog, you may need to manage them over time. This includes syncing updates, changing categories, enabling or disabling try-on, or removing products entirely.
The Product Catalog provides bulk management tools to help you maintain accuracy and control across your AR-enabled inventory.
To manage one or more products:
- Navigate to the Product Catalog.
- Select the desired product(s) by checking the checkbox in front of each product.
- Once selected, action buttons will appear at the top of the table.
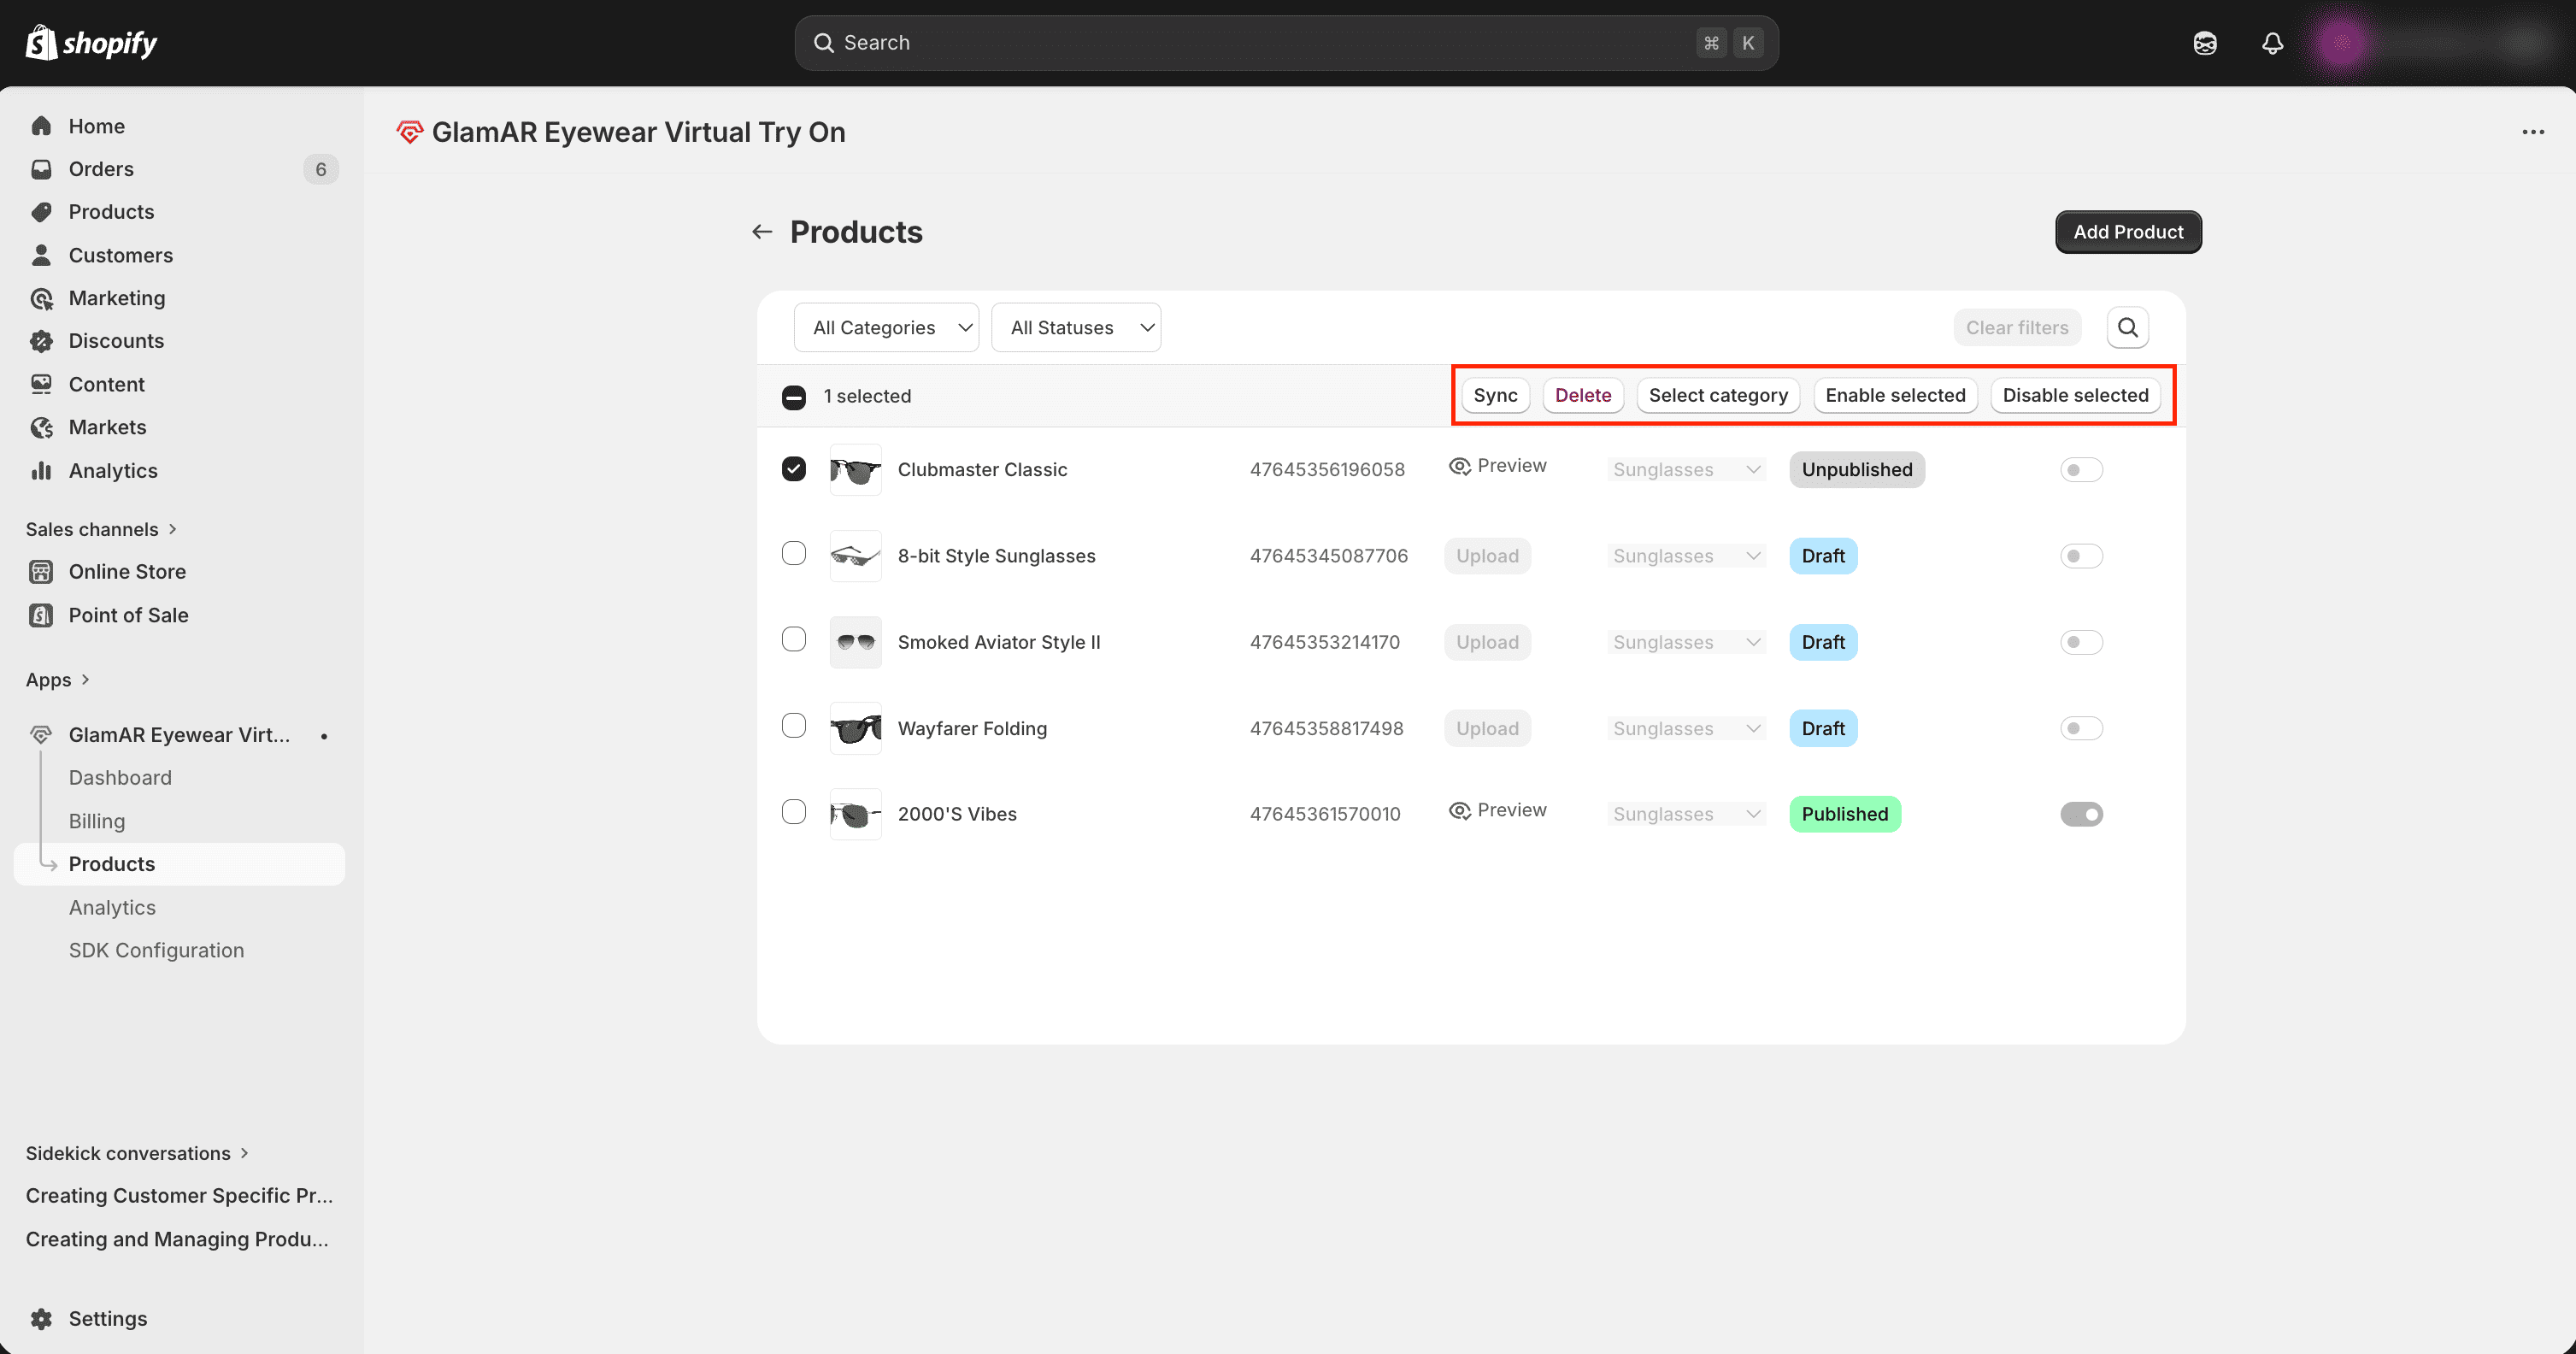
These bulk actions allow you to manage multiple products efficiently.
Available Product Management Actions
Sync
The Sync action updates the selected product’s metadata between Shopify and GlamAR’s Product Inventory.
Use this when:
- Product details (name, image, price, SKU) have been updated in Shopify.
- You’ve made changes that are not yet reflected in the GlamAR product inventory.
- You want to ensure the latest metadata is aligned.
Always sync products after major catalog updates to prevent mismatched information.
Delete
The Delete action removes the selected product from:
- Shopify’s GlamAR VTO integration
- GlamAR’s Product Inventory
This completely removes AR functionality for that product.
Use this when:
- A product is discontinued.
- A SKU is permanently removed.
- A product should no longer support try-on.
Deleting a product removes it from both systems. Re-adding it later requires repeating the product setup process.
Select Category
This option allows you to update the GlamAR product category for the selected product(s). This does not change Shopify’s internal product category.
Updating the category is useful when:
- The wrong AR category was initially assigned.
- A product type was reclassified.
- Tracking or rendering behavior needs correction.
Incorrect category selection may affect AR alignment and realism. Always choose the category that matches the physical product type.
Enable Selected
The Enable Selected action activates AR try-on for the selected products. Once enabled:
- The product will display the Try-On option on the storefront.
- Customers can access the AR experience from that product page.
Use this when:
- Launching AR for new products.
- Reactivating previously disabled SKUs.
Disable Selected
The Disable Selected action temporarily removes AR functionality for the selected products without deleting them.
This is ideal for:
- Out-of-stock items
- Temporary product removals
- Seasonal availability
- A/B testing AR visibility
Disabling keeps the product in the catalog but hides the try-on option from customers.
Disabling is safer than deleting if you plan to reactivate the product later.