How to Create 3D Models from Images: Step-by-Step Guide


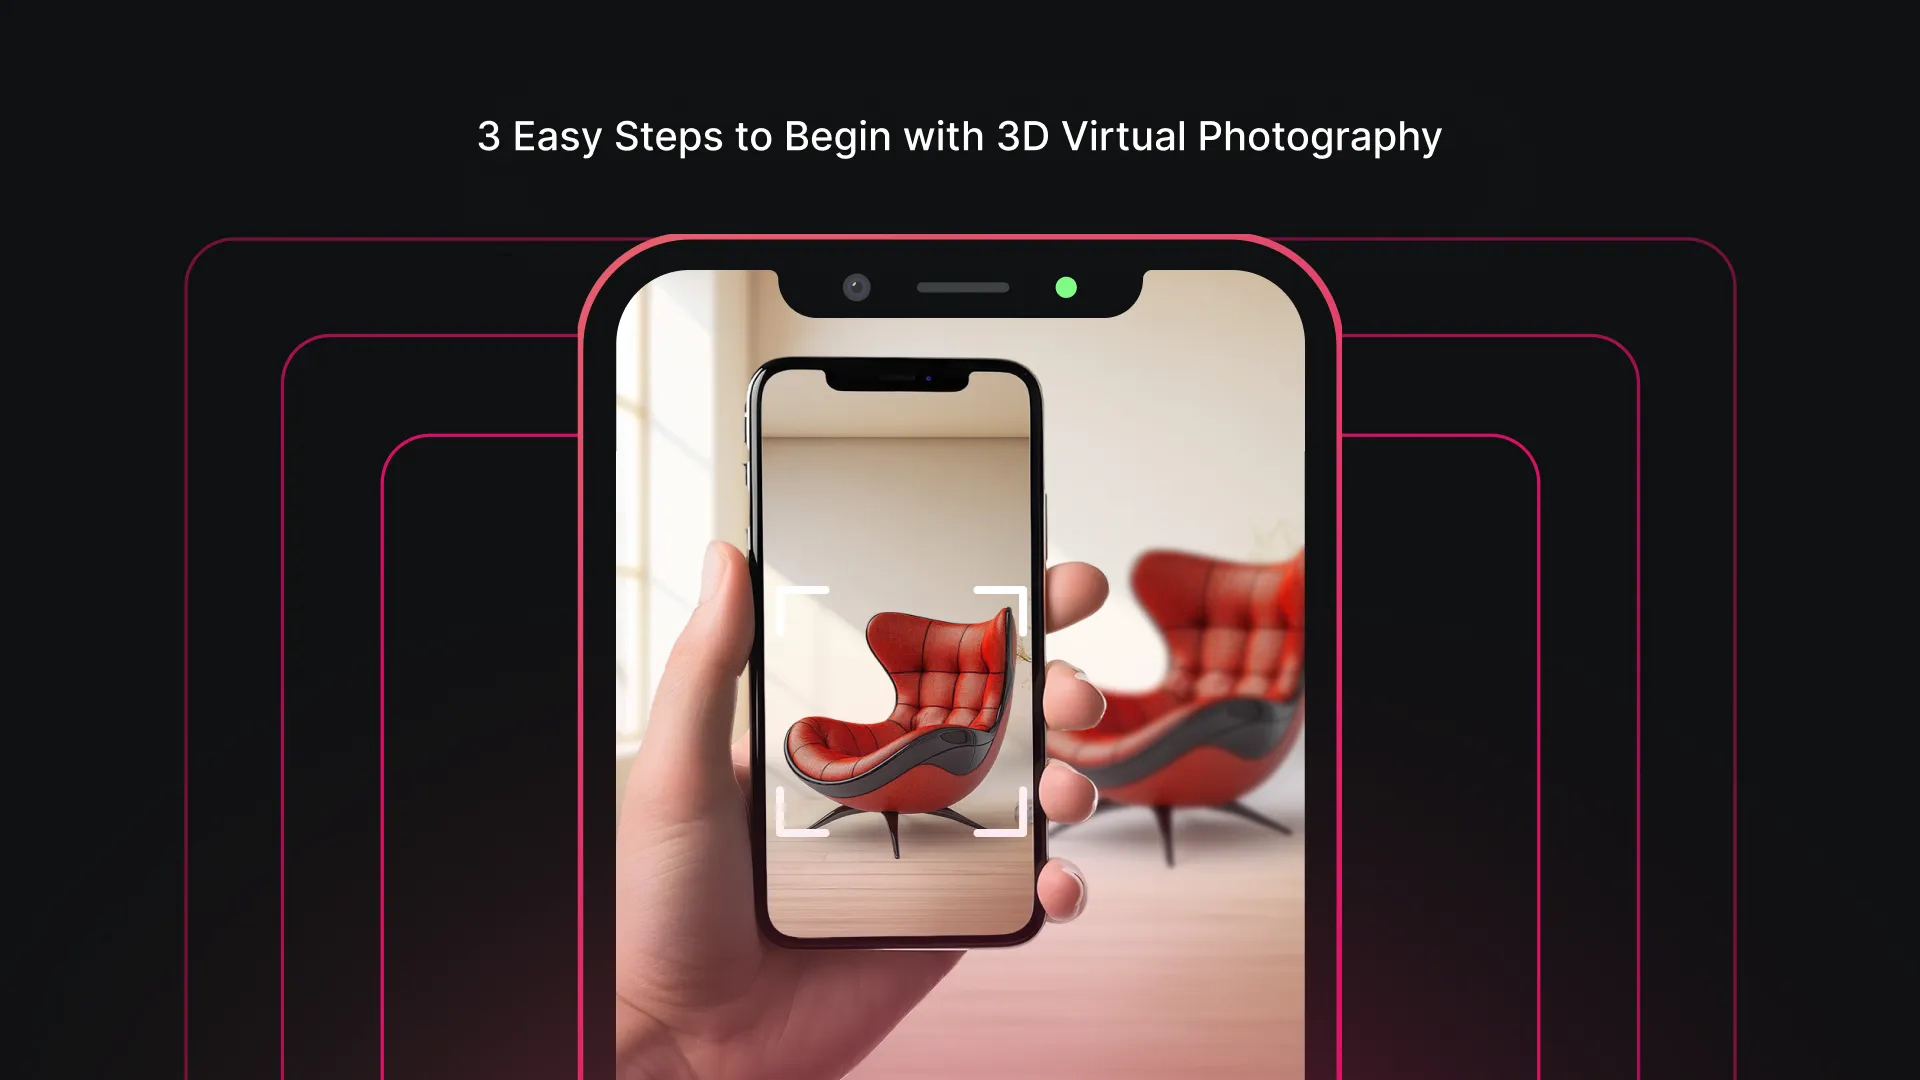
In today’s competitive landscape, 3D modeling has become a cornerstone for industries such as e-commerce, real estate, healthcare, and manufacturing. By creating 3D models from images, businesses can achieve accurate, detailed representations of objects, saving both time and costs compared to traditional modeling techniques. This guide provides an in-depth understanding of how businesses can create 3D models from images, offering practical steps, tools, and best practices.
What Are 3D Models, and Why Are They Important?
3D models are digital representations of physical objects, environments, or concepts, rendered in three dimensions. For businesses, they have proven to be powerful tools for improving product visualization, streamlining workflows, and enhancing customer experiences. For instance:
- E-commerce businesses use 3D models to showcase products with interactive views.
- Real estate firms leverage 3D renders for virtual property tours.
- Healthcare companies utilize 3D representations for anatomical training and simulations.
Creating 3D models from images simplifies the modeling process by utilizing widely available data—photographs—eliminating the need for complex manual design work.
How to Create a 3D Model from an Image: A Step-by-Step Guide
Creating a 3D model from images is an efficient way to produce accurate and realistic representations of objects or environments. While the process may vary depending on the tools and techniques used, the general workflow remains consistent. Below is a detailed breakdown of the key steps involved.


Step 1: Import Images from Photogrammetry Software
The process begins by importing your photographs into photogrammetry software. These tools are designed to analyze multiple images of the same object or scene taken from different angles. Most modern software supports common image formats such as JPEG, PNG, TIFF, and RAW.
Once the images are uploaded, the software analyzes them to identify shared features or points visible across different photos. These shared points, often referred to as control points, are critical for understanding how the images relate to one another in 3D space.
Step 2: Set Control Points and Align Images
The next step is to set control points, which the software uses to align the images. Control points are distinct features or high-contrast areas, such as corners, patterns, or textures, that are visible in multiple images.
After identifying these points, the software aligns the images, effectively mapping their positions in relation to one another. This step generates a sparse 3D point cloud—a rough representation of the object or scene based on the shared features.
Step 3: Generate a Dense Point Cloud
Once the images are aligned, the software refines the initial sparse point cloud into a dense point cloud. This process involves identifying additional points in the images to create a more detailed 3D representation.
The dense point cloud captures intricate details of the object, such as textures, edges, and contours. It serves as the foundation for the 3D model and influences its final accuracy and realism.
Step 4: Build the Mesh
With the dense point cloud in place, the software constructs a 3D mesh. The mesh is made up of interconnected polygons (typically triangles) that form the surface of the object.
- Customization Options: Many photogrammetry tools allow users to adjust the resolution of the mesh, balancing detail and processing requirements. For high-detail applications like e-commerce or virtual reality, a higher resolution mesh is preferred.
Step 5: Apply Texture and Colors
The final stage of the modeling process involves applying textures and colors to the 3D model. The software maps the original images onto the mesh, creating a photorealistic appearance.
- Realism Matters: Accurate textures and lighting effects enhance the model's usability for business applications such as product visualization, training simulations, or marketing campaigns.
Step 6: Export the 3D Model
Once the 3D model is complete and refined, the next step is to export it into a suitable file format for its intended use. Popular export formats include OBJ, FBX, and STL, each serving different purposes depending on the platform or application.
- OBJ and FBX: These formats are commonly used for web-based 3D viewers, animations, and interactive environments, as they support detailed model geometry and texture mapping.
- STL: This format is widely adopted for 3D printing, as it captures the precise geometry of the model without textures, making it ideal for physical production.
When exporting, ensure the selected format is compatible with the platforms or tools where the model will be used.
Key Considerations for Businesses
- High-Quality Input Images: The quality of the final model heavily depends on the clarity and resolution of the images used.
- Choosing the Right Software: Evaluate tools based on your industry needs, such as Agisoft Metashape, RealityCapture, or Autodesk ReCap.
- Processing Power: Photogrammetry can be resource-intensive; ensure your system meets the software’s hardware requirements.
By following these steps, businesses can efficiently create 3D models from images, opening new possibilities for innovation and enhanced workflows. Whether used for product development, marketing, or training, these models offer a versatile solution for various professional needs.
Key Tips for Creating High-Quality 3D Models from Images
To ensure that your 3D models are accurate, visually appealing, and functional, consider implementing these best practices throughout the modeling process.
Remove Artifacts and Reduce Noise
Artifacts and noise can negatively impact the quality of a 3D model. Artifacts often appear due to poor-quality reference images, improper settings in the modeling software, or errors in the initial creation process. To maintain a high-quality model, it's important to carefully inspect and eliminate any unwanted elements.
Noise refers to random variations in color or brightness that may appear in the images. These imperfections can be minimized by using noise reduction techniques or filters available in most 3D modeling software, ensuring a cleaner and more accurate final result.
Smooth Surfaces and Address Gaps
Smoothing surfaces is a crucial step in refining the model's geometry. By eliminating rough edges or jagged surfaces, you enhance the model’s realism and make it more visually appealing.
Additionally, it’s essential to identify and fill any gaps or holes in the model. These can occur during the initial creation phase, disrupting the overall structure and appearance. Filling in these gaps improves both the aesthetics and the integrity of the model, ensuring that it is visually cohesive and structurally sound.
Utilize Texture Mapping and UV Unwrapping
Texture mapping is the process of applying a 2D image onto a 3D model, much like painting a surface or covering it with wallpaper. This technique enhances the model with color, detail, and realism. However, before you can apply the 2D texture to a 3D object, the model must be "unwrapped" into a 2D surface. This process is called UV unwrapping.
UV unwrapping involves cutting the 3D model and flattening it into a 2D plane in a way that preserves its proportions and avoids distortion. It can be a complex process as it requires careful planning to ensure that the texture maps correctly across the surface. Once unwrapped, the 2D image (or texture) is applied, adding realism to the 3D object. Effective texture mapping and UV unwrapping are essential for producing visually compelling and accurate models.
Incorporate Sculpting and Retopology Techniques
Sculpting is a 3D modeling technique that gives artists the flexibility to shape and refine models with the same freedom as working with clay. This technique is particularly useful for adding intricate details and achieving highly realistic features. Sculpting allows for a more organic approach, enabling artists to create fine textures and smooth surfaces that enhance the model’s appearance.
However, detailed sculpting can sometimes lead to overly complex or high-polygon models that are inefficient for use in certain applications. Retopology is the process of simplifying the model’s geometry while maintaining its shape and detail. This technique involves creating a new, cleaner mesh over the sculpted model, reducing the polygon count and making the model more optimized for rendering, animation, or real-time use.